skilpod.com / blog
building process — how do we install a Skilpod?
preparing the building plot
The bulk of the work is done in our workshop, where we build your Skilpod in modules from start to finish. However, there are some things that need to happen on your building plot. The most important parts are the foundations and connections to utilities.
The foundations are placed in collaboration with a surveyor. Because a timber frame house is much lighter than a stone house, the work on the foundations is very limited.
In some cases, there’s a bit more work. For example when we put a basement underneath the home or when the Skilpod will be placed on a slope or very unstable ground.
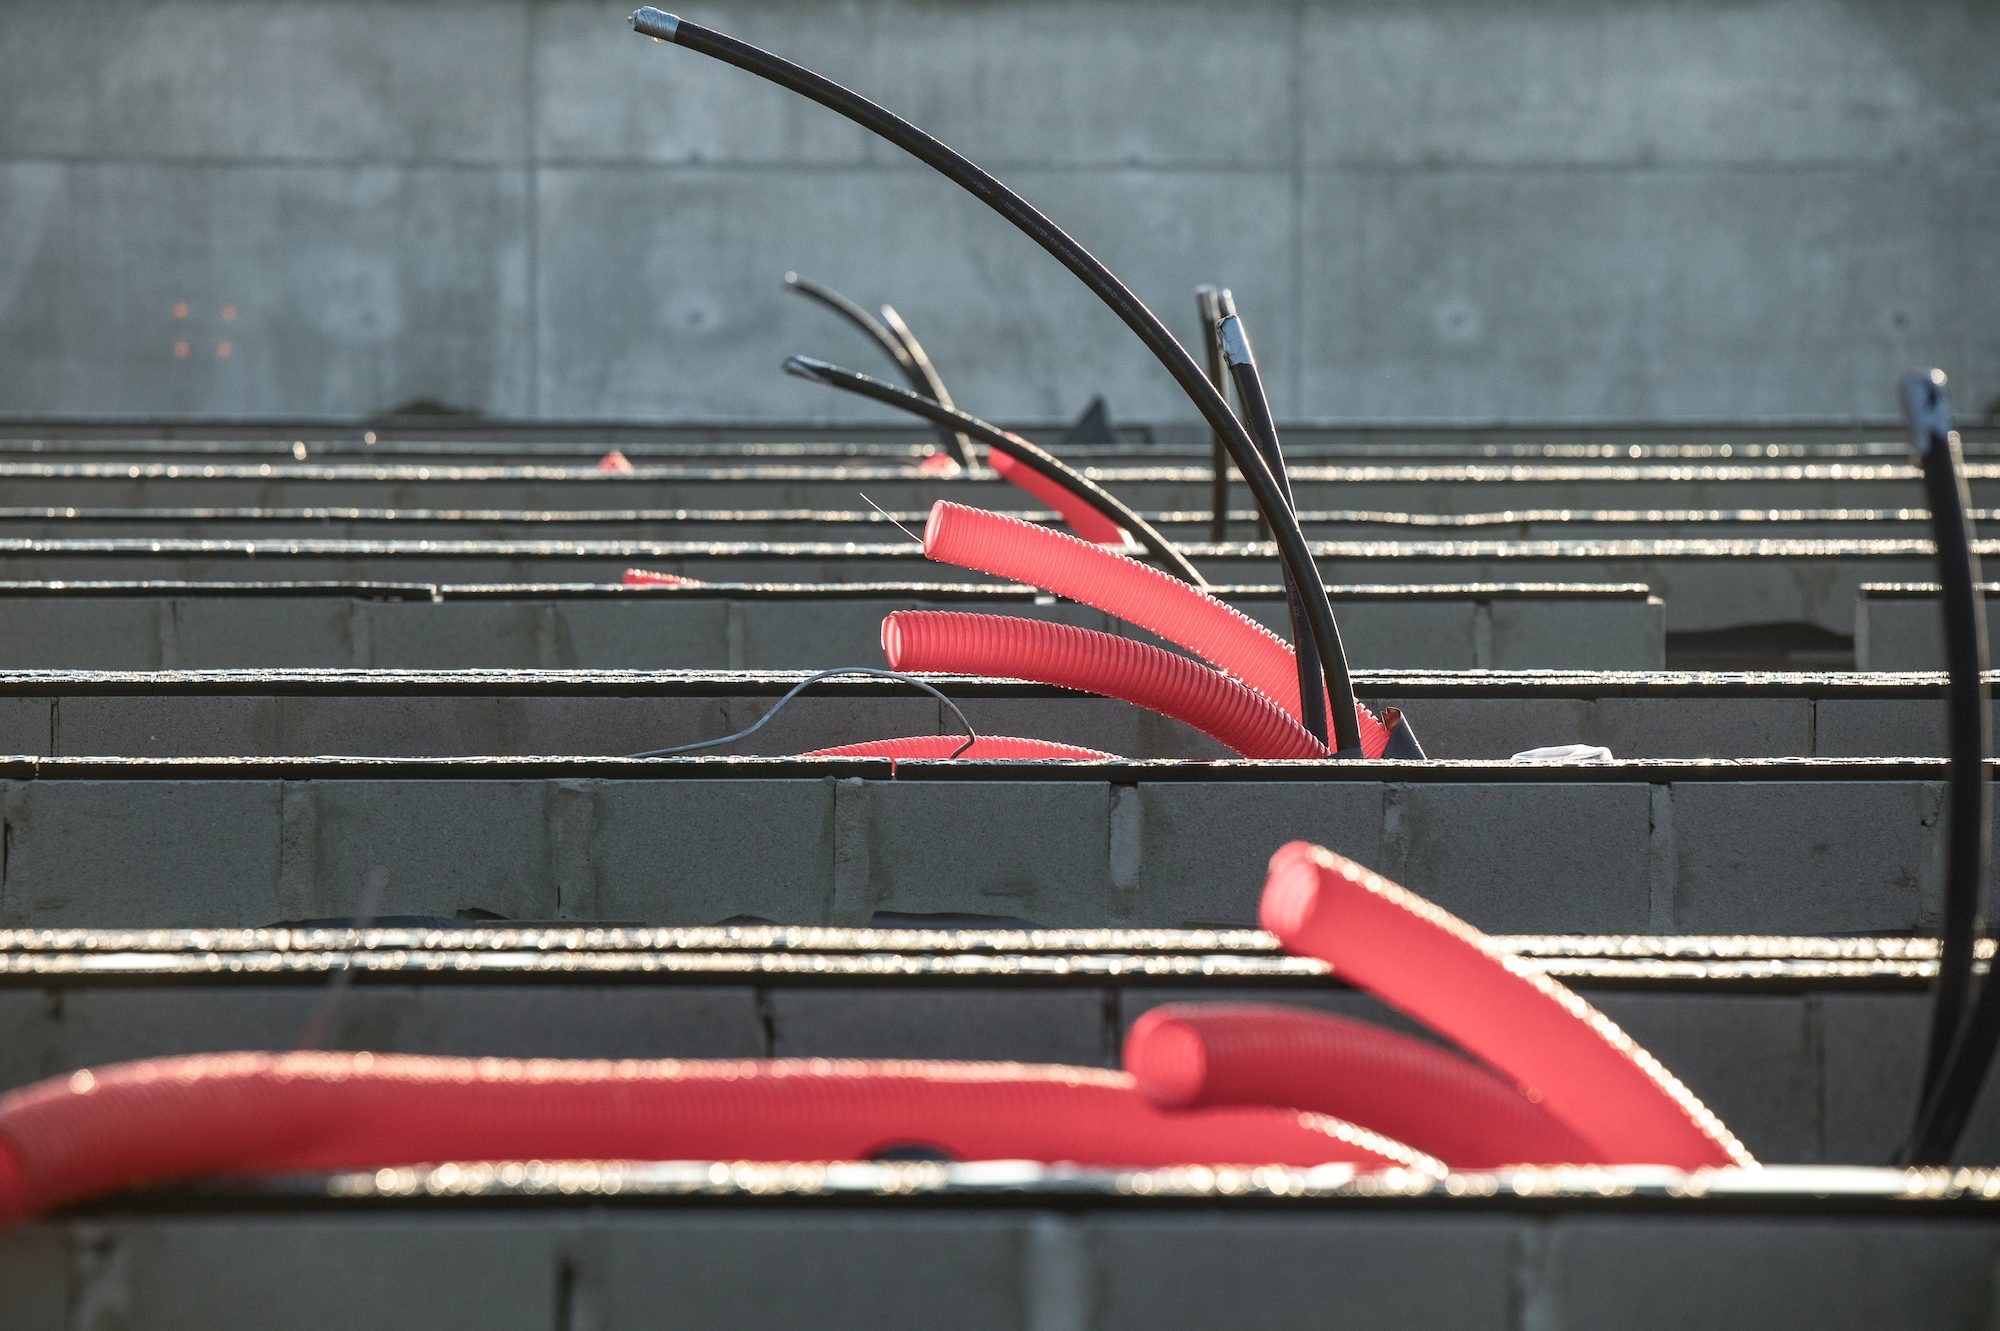
We prepare the connections to the utilities via conduit pipes. These are pipes that provide a tunnel from the technical room in your Skilpod to the edge of the street. At a later date, providers like Telenet, Proximus or Fluvius can use these pipes to connect your home to the utilities.
Because we know exactly where the technical room will be, we can place the pipes in exactly the right spot. This saves us a lot of time and effort when we install the Skilpod.

the big day: fun with cranes
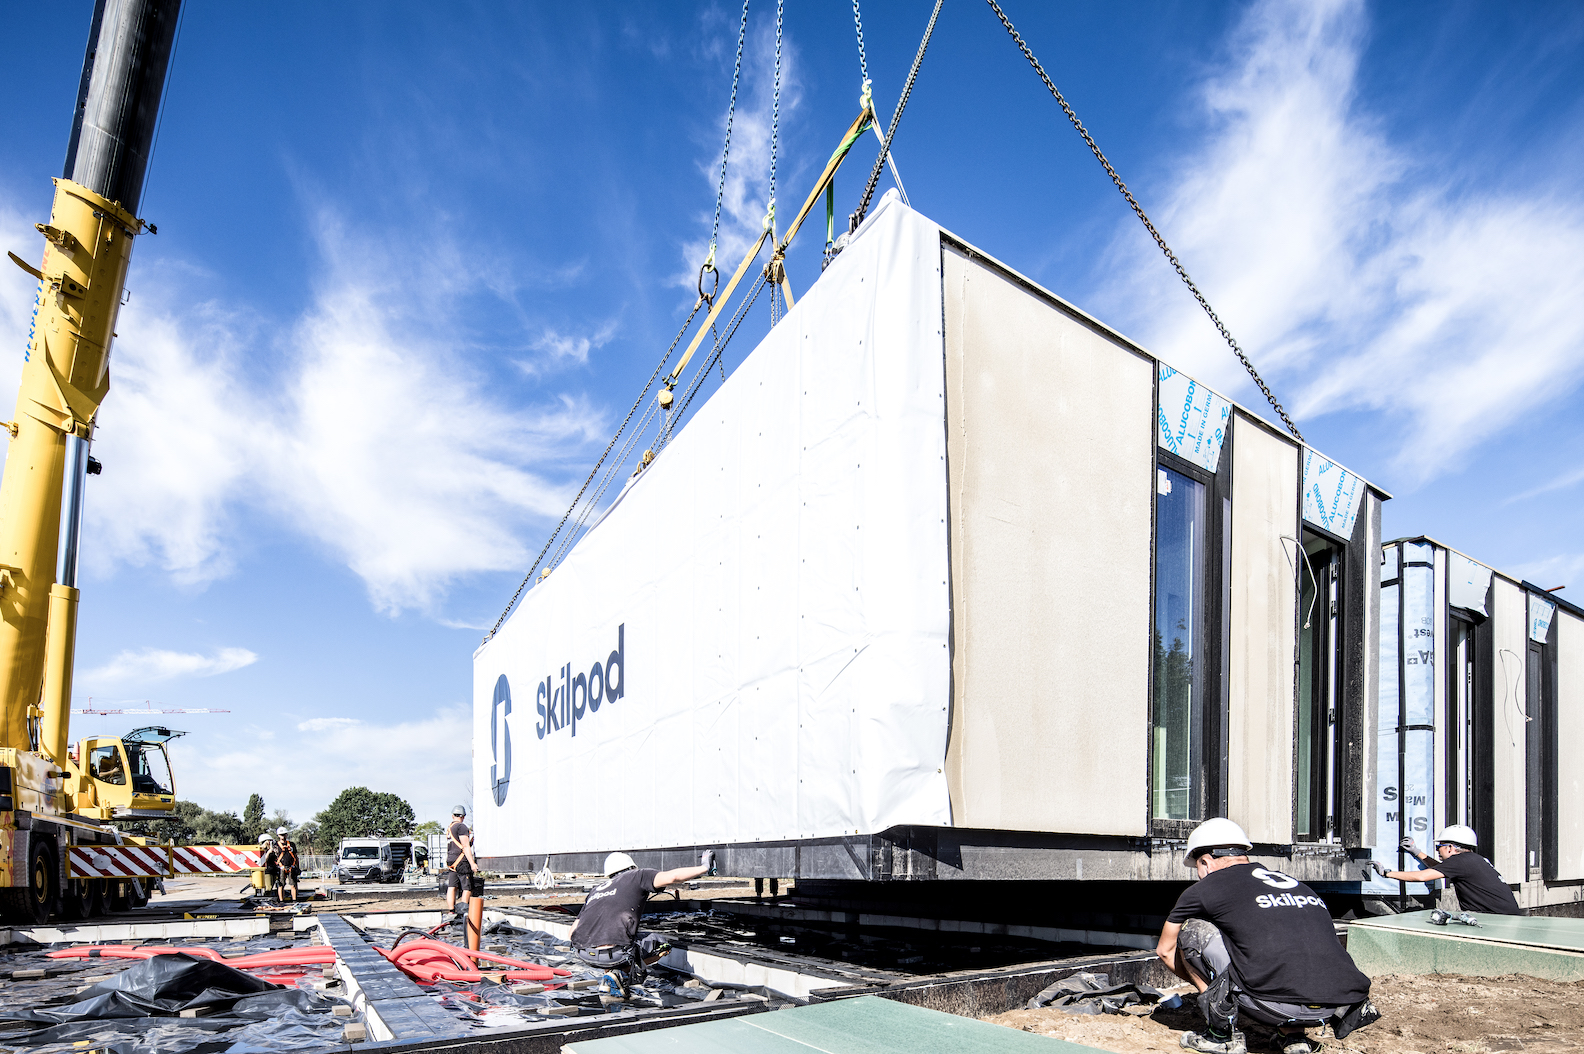
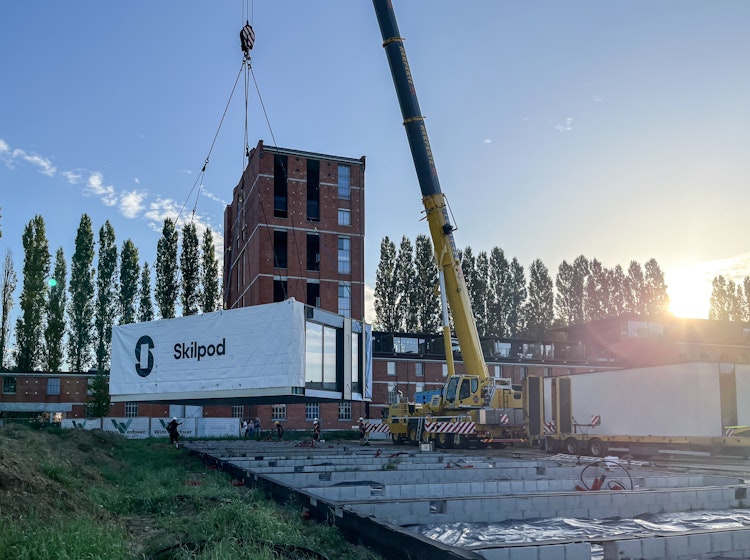
Before the break of day, the street is closed off from traffic and the crane arrives at the site. It takes about an hour to get the crane ready for lifting.
At the same time, the modules get mounted on trucks at the Skilpod workshop. The open sides of the modules are protected by a special water-proof cover, that's removed again at the building site.
Then it’s time for the most spectacular moment: we lift the modules off of the trucks and install them on the foundations. This always seems like an intense moment, because this is when any error in our work could surface. Luckily, we have a lot of very talented and precise craftsmen and machines that are precise down to the millimeter. The modules always fit like pieces of a puzzle.
All the modules are placed on the foundations. Afterward, we anchor the modules to each other and make sure the facade is fully closed-off. Even in spots where minutes before the modules were still attached to the crane.
How long this all takes, from the moment we attach the module to the crane, to the closing off of the facade, depends on the number of modules we have to place and whether or not the home is constructed over multiple floors. For the smallest models, the whole job can be done in an hour and a half.

the finishing touch
When all the dust has settled — sometimes quite literally — we can add the finishing touch to your new home. Most often we do this in the days after the installation.
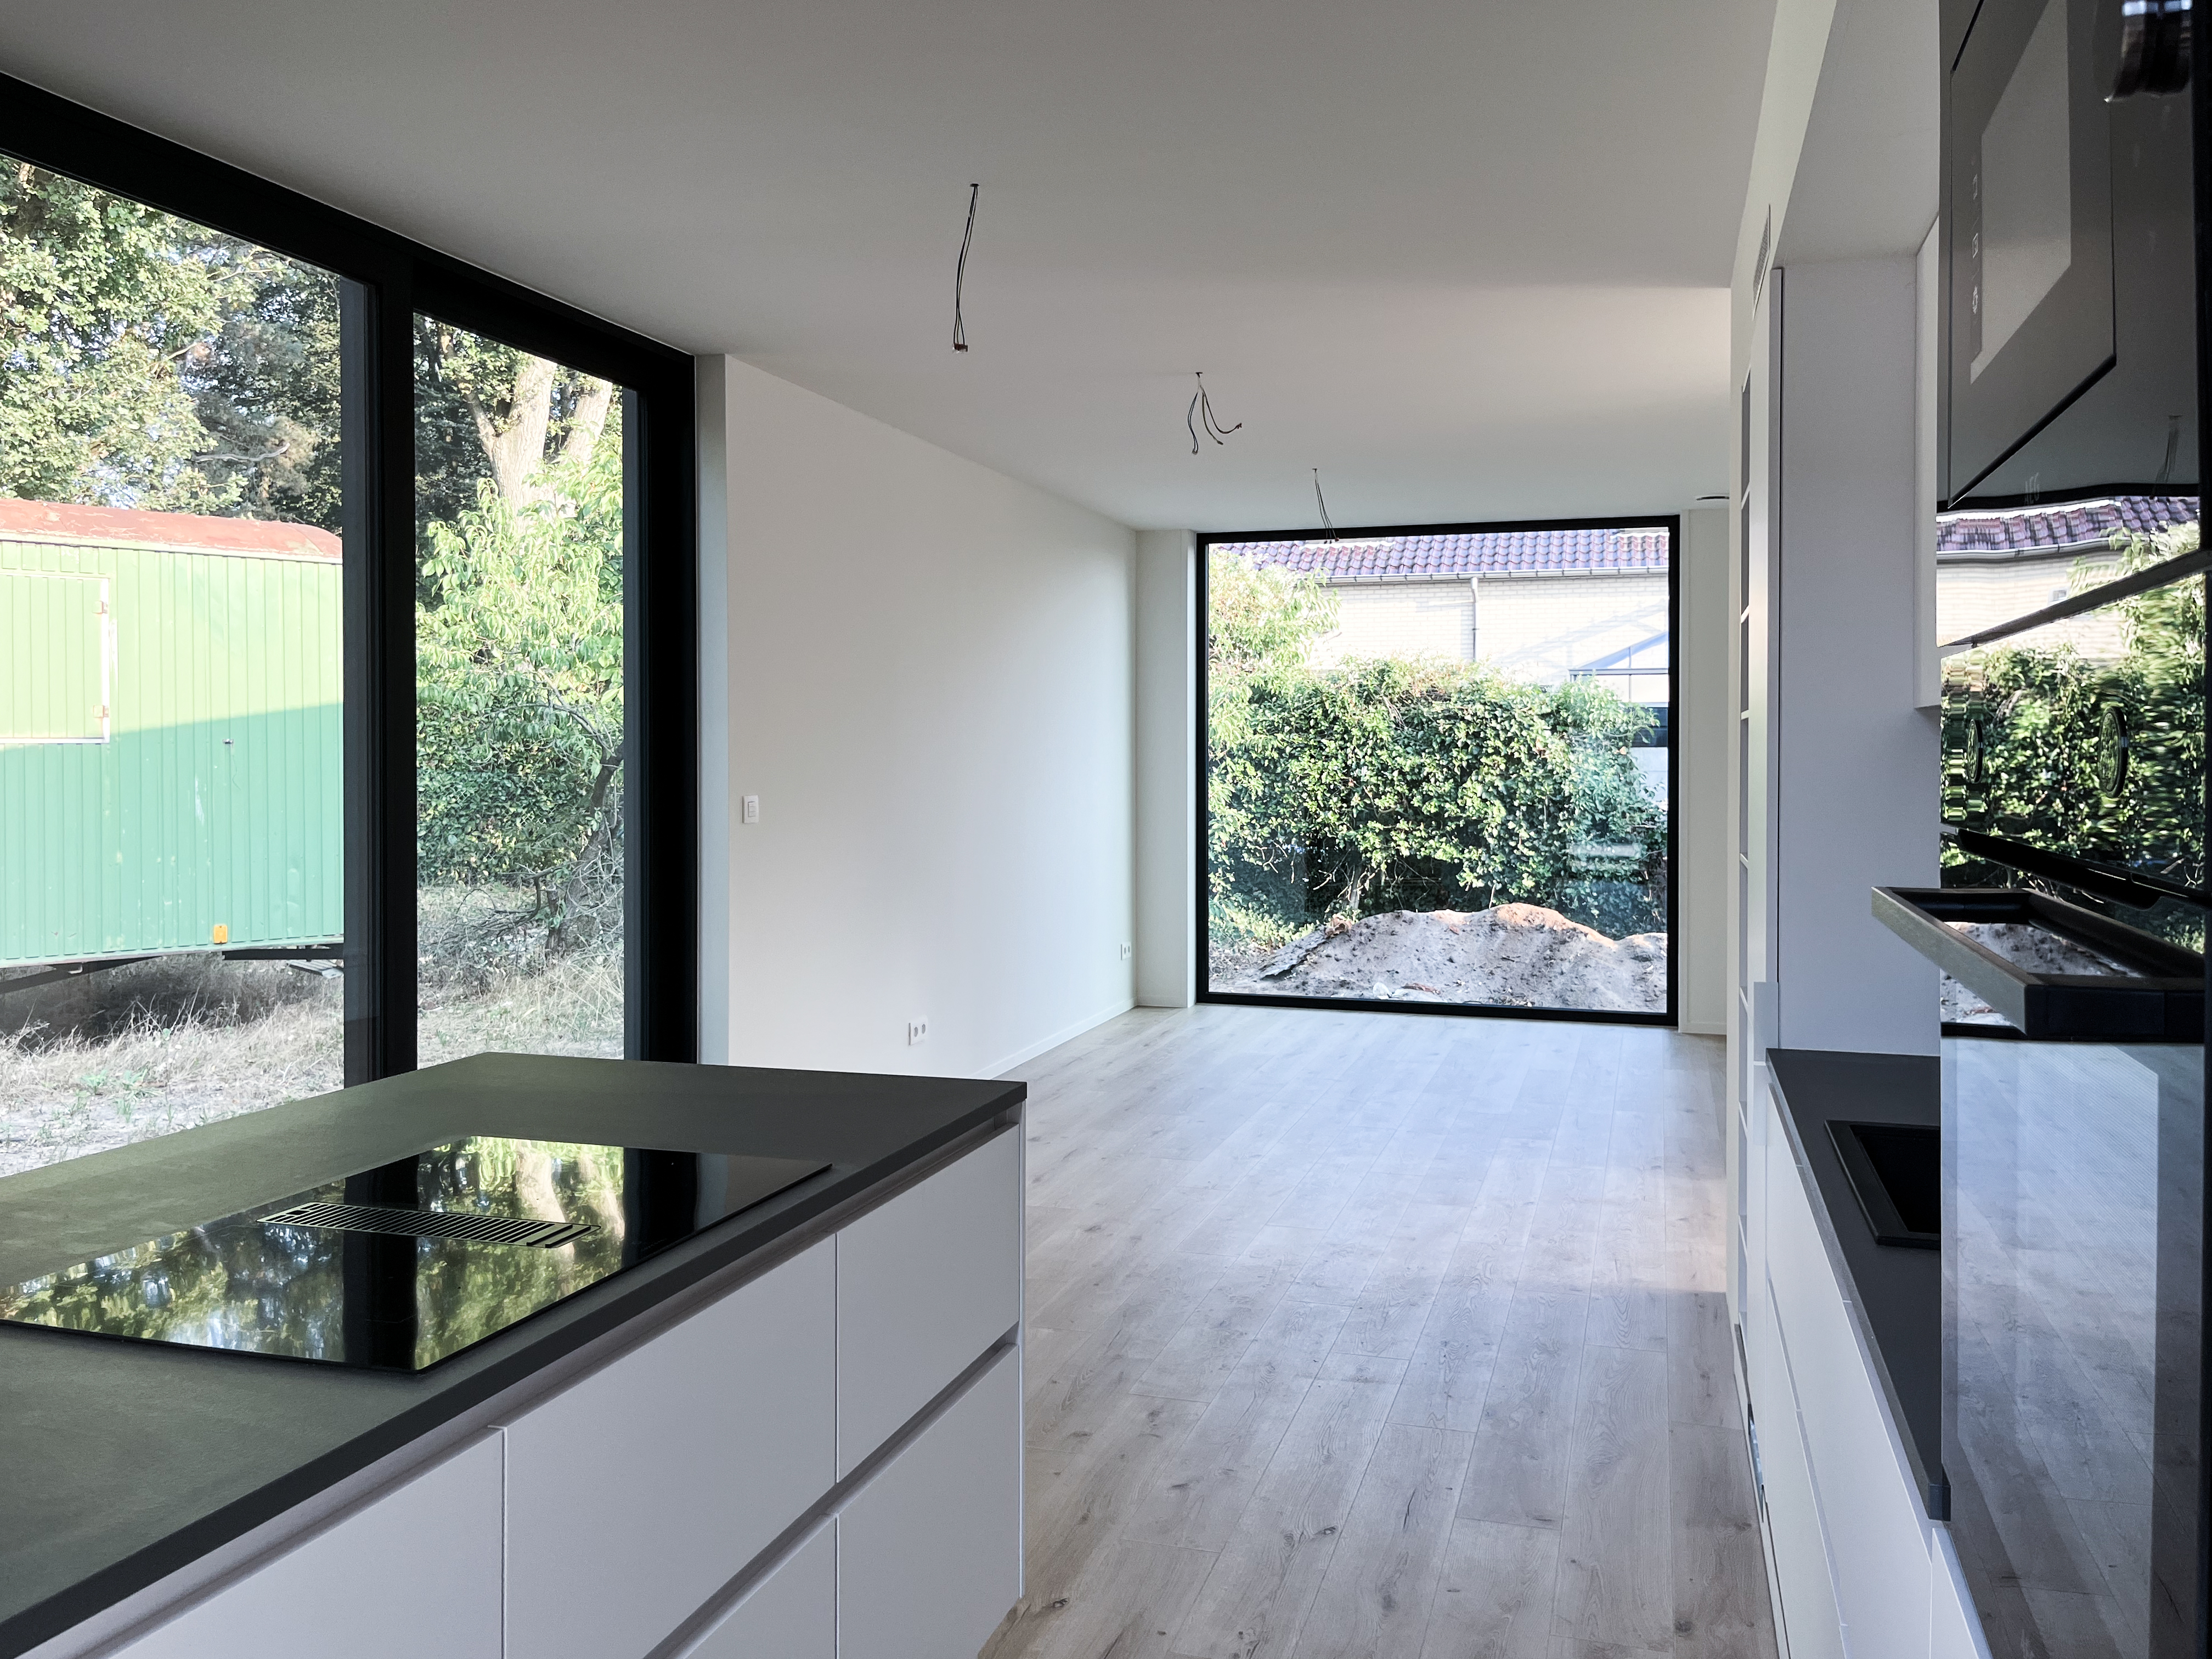
The flooring is finished over the seams of the modules, so the end result is one smooth surface and no one will ever see where the different modules once started and ended. We also add the last stones or wood panels to your façade. We do this at the very end, so as not to damage anything during transportation or installation.
This is also the time when we make sure your home gets connected to all the utilities. We coordinate this with the utility companies for you, but unfortunately, we don't have control over the timing.
Finally, we add a last layer of paint to your walls, so no dirty fingerprints or anything similar remains. We do one last round of cleaning and then hand over the keys to you, the new owner. Nothing left to do, but move in and plan your house-warming party.

Published: 1 September 2021
more about our building process

building process — improve your chances of finding the perfect building plotDid you find the Skilpod of your dreams, then it's time to find your ideal location.

smart building — 11 homes in 4 daysWe did it again. At the historical site of the Chocolate Factory in Tongeren, we built 11 new homes in 4 days.

building process — what is the Skilpod ambassador bonus?Of course we love it when our fans recommend us to other people. So much so that we decided to give them a reward: the ambassador bonus